How To Buy Web Hosting From HostGator 2021
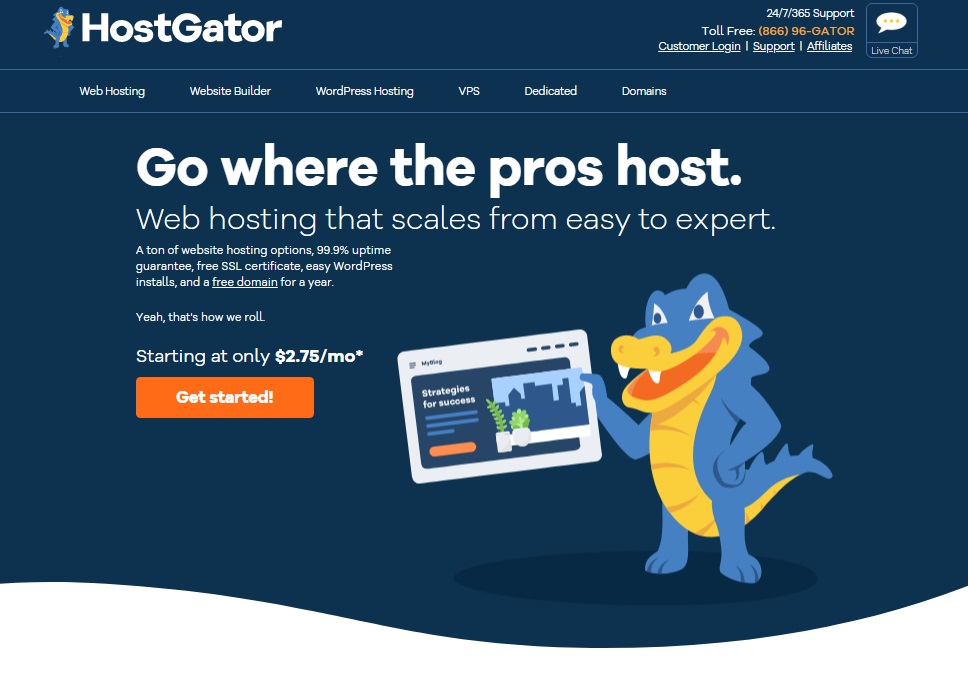
As the first step to buy web hosting with HostGator, you should go to the HostGator Home page. You can see how this powerful HostGator home page looks like in the below screenshot.
Click on the orange-colored Get Started button or click on Web Hosting in the main navbar to proceed with the next step. Please follow the screenshot with step by step guidelines below. You can learn how to buy web hosting from Hostgator.
Select Your Preferred Hosting Plan
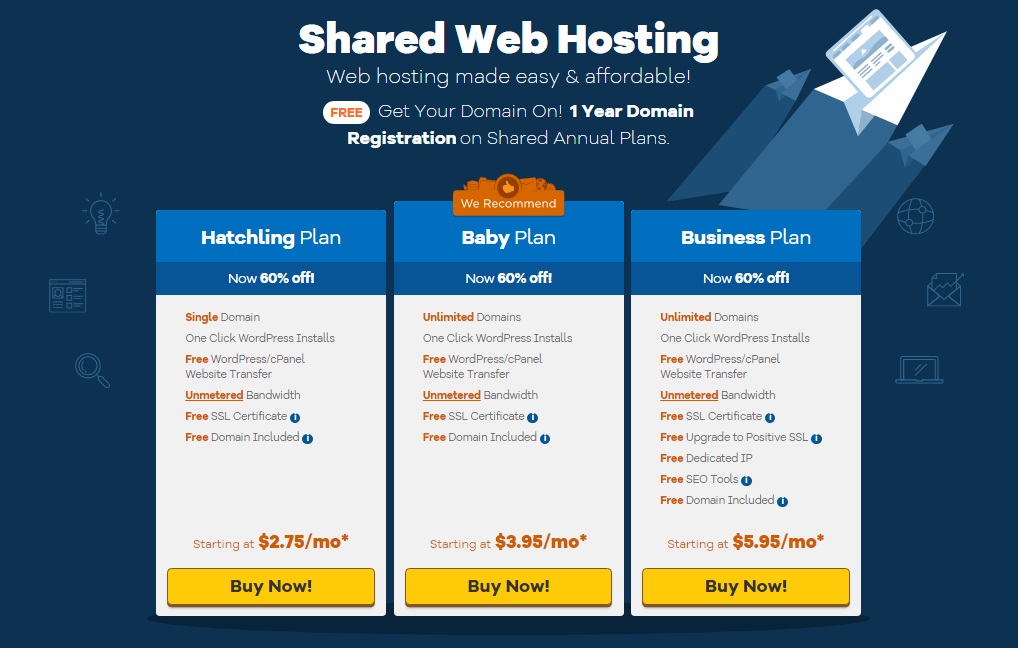
On the next page, you can see three different plans that you can choose, as you preferred; Hatchling Plan, Baby Plan, and Business Plan.
HostGator Hatchling Plan
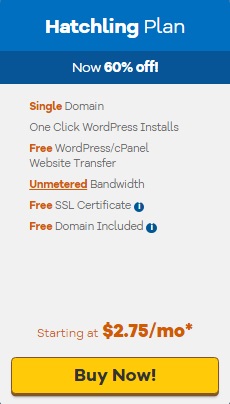
If you have an idea to make one web site, the Hatching Plan is the best to host with one website as well as you can always change to a different plan at any time if you need it.
HostGator Hosting Baby Plan
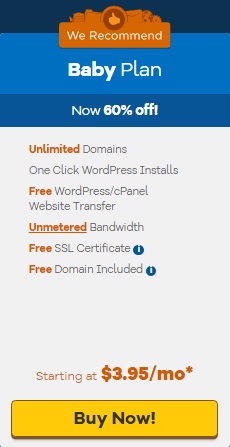
The Baby Plan is the recommended and most popular plan in HostGator. It allows you to host an unlimited website. (I can recommend this plan for every blogger)
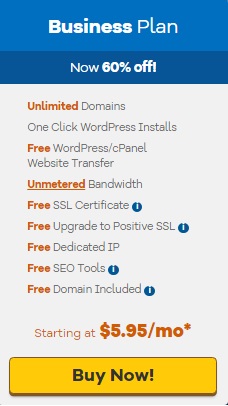
HostGator Hosting Business Plan
Business Plan is an extraordinary plan that you can upgrade to a positive SSL certificate, free dedicated IP, and an offer with free HostGator SEO tools.
Select Your Domain Name or Register Domain
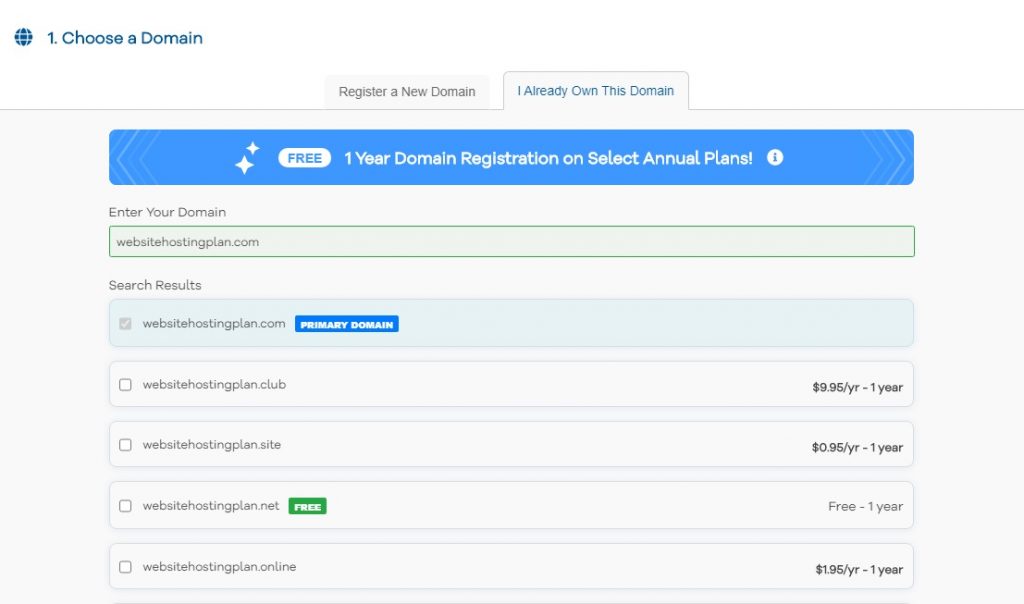
You can see this page when you select your plan, as in the above screenshots clicking the yellow-colored Buy Now button. On this page, you have to enter your domain or buy the domain directly from HostGator.
Enter The Domain You Already Have
If you already have your domain name from another domain provider, you should click on “I Already Own This Domain” and enter the domain name. Once you do that, it appears as the domain is added. I would suggest you buy a domain from NameCheap or GoDaddy.
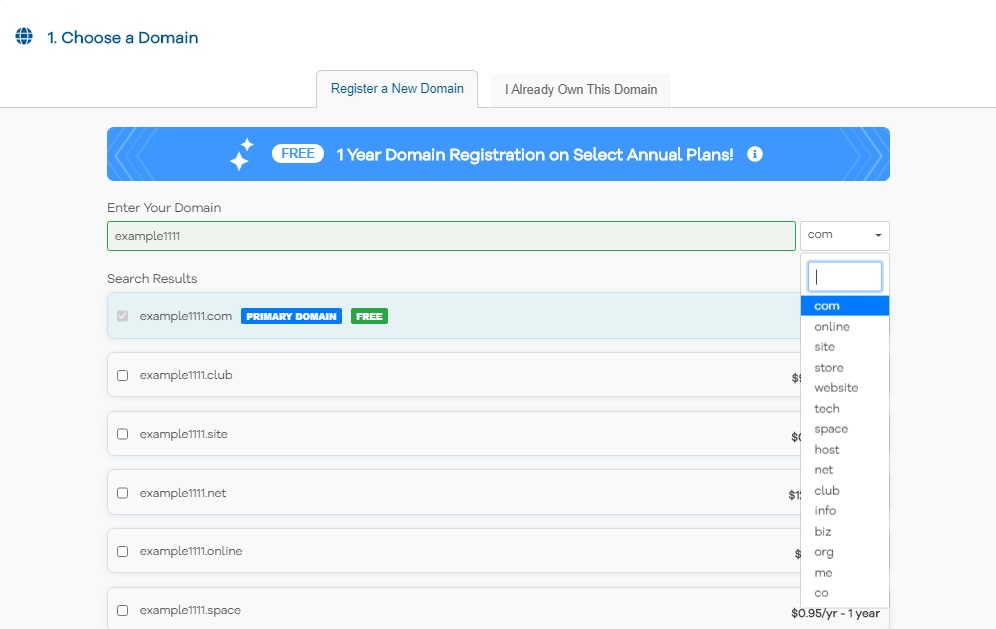
Choose Domain from HostGator
If you don’t have a domain name, you can register a new domain from HostGator. I recommend you to go with the .com domain as this is the most popular domain extension in the world today.
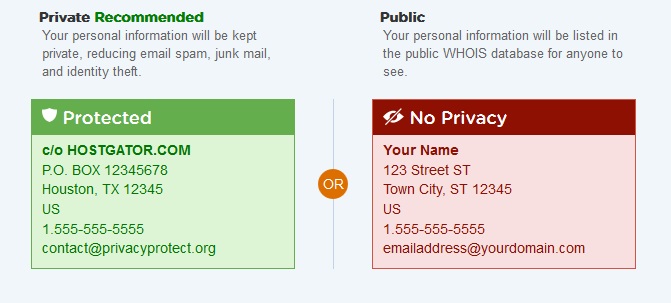
Why You Should Choose Domain Privacy Protection
Once you select your domain from HostGator, scroll down, and you can see the domain privacy section. If you want your domain privacy, you can tick the checkbox; otherwise, remove the tick mark. I recommend you to proceed with adding domain privacy.

Select HostGator Hosting Plan
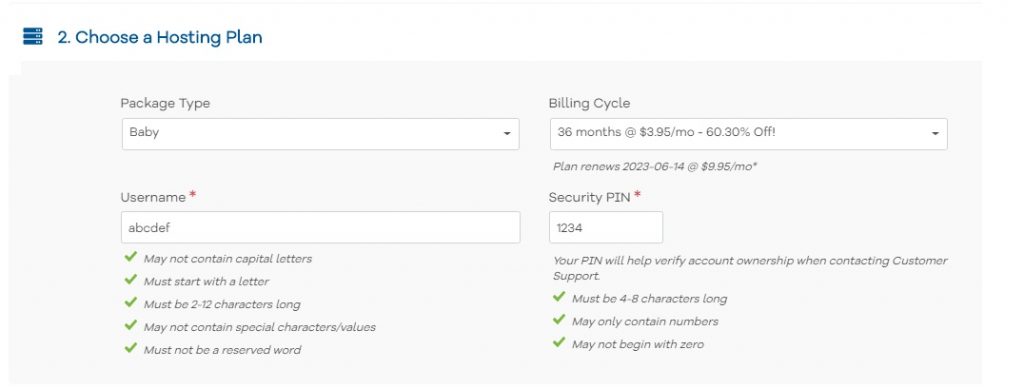
As the next step, you can select your HostGator hosting plan. By default, it would be the hosting package that you have selected in the first step. In the Billing Cycle, you can change the duration of the hosting from here.
As the main importance of the Billing Cycle, I suggest you get hosting for 24 months or 36 months. But you can select any Package Type or Billing Cycle period as you preferred.
The Username you enter is what you have to use to log into the HostGator account, and you can use the security pin when you need support from HostGator Help Team.
Fill HostGator Hosting Billing Information
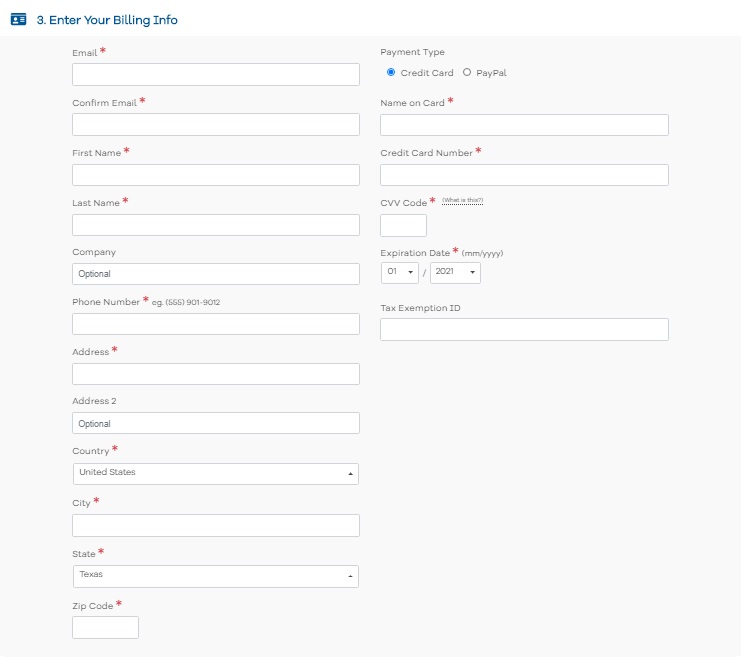
As the next step, you have to enter the billing information of your personal email, address, telephone number, and credit card information. In this field, you have to enter your information carefully.
I suggest you double-check your information and make sure that all are correct.
Here you can also select the Payment methods that you want to buy a HostGator hosting. You can choose any method: PayPal or Credit Card.
Additional Services Offered by HostGator
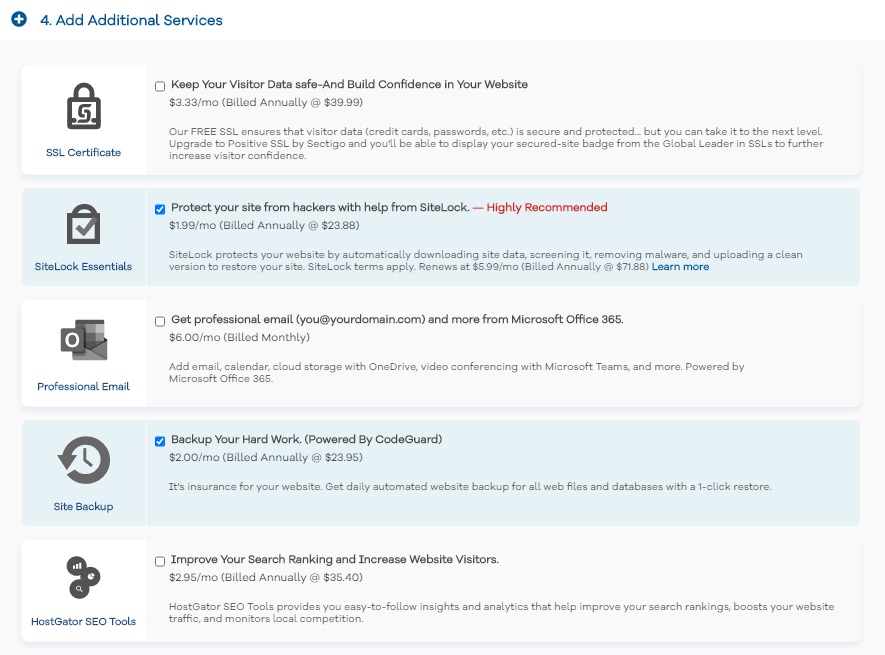
In the additional services section, you can select the service that you want with inclusions or exclusions in the HostGator hosting service.
I suggest you remove all the tick marks and uncheck all because you can find complimentary free alternatives.
Enter HostGator Hosting Coupon Code and Verify Your Order
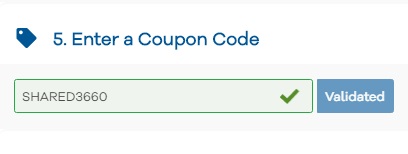
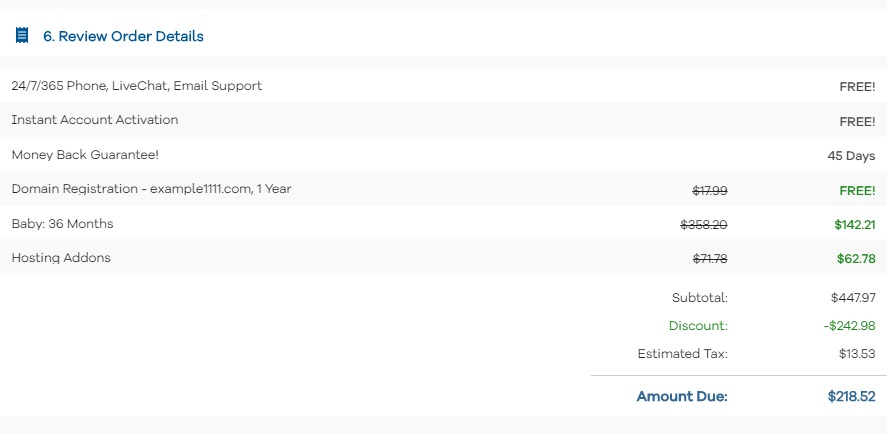
Next. in the Coupon Code field, you can enter your code that will give you a maximum of 30% discount from the total hosting package. Note that the hosting does not offer discounts at the hosting renewal. This is the only way to get a discount as this is your first bill.
You can also see the completed details of your orders hosting plan. Once you review the order, you must have to agree to the terms and conditions by clicking on Checkout Now. You will redirect to the payment confirmation page, and you will receive the email of the confirmation of your new HostGator hosting account details.
